Cutter Reg Marks
Script for Adobe Illustrator
Latest update 12/5/2023, version 4.2
Add registration marks (dots) for flatbed cutting plotters.
- Choose layer for marks, or create it
- Specify offset from artboard edge, or layer content
For the InDesign version of this script, see Cutter Reg Marks InDesign.
Also see below Alternate version for Tekcel CNC Sign Cutting Machines.
Cutter Reg Marks
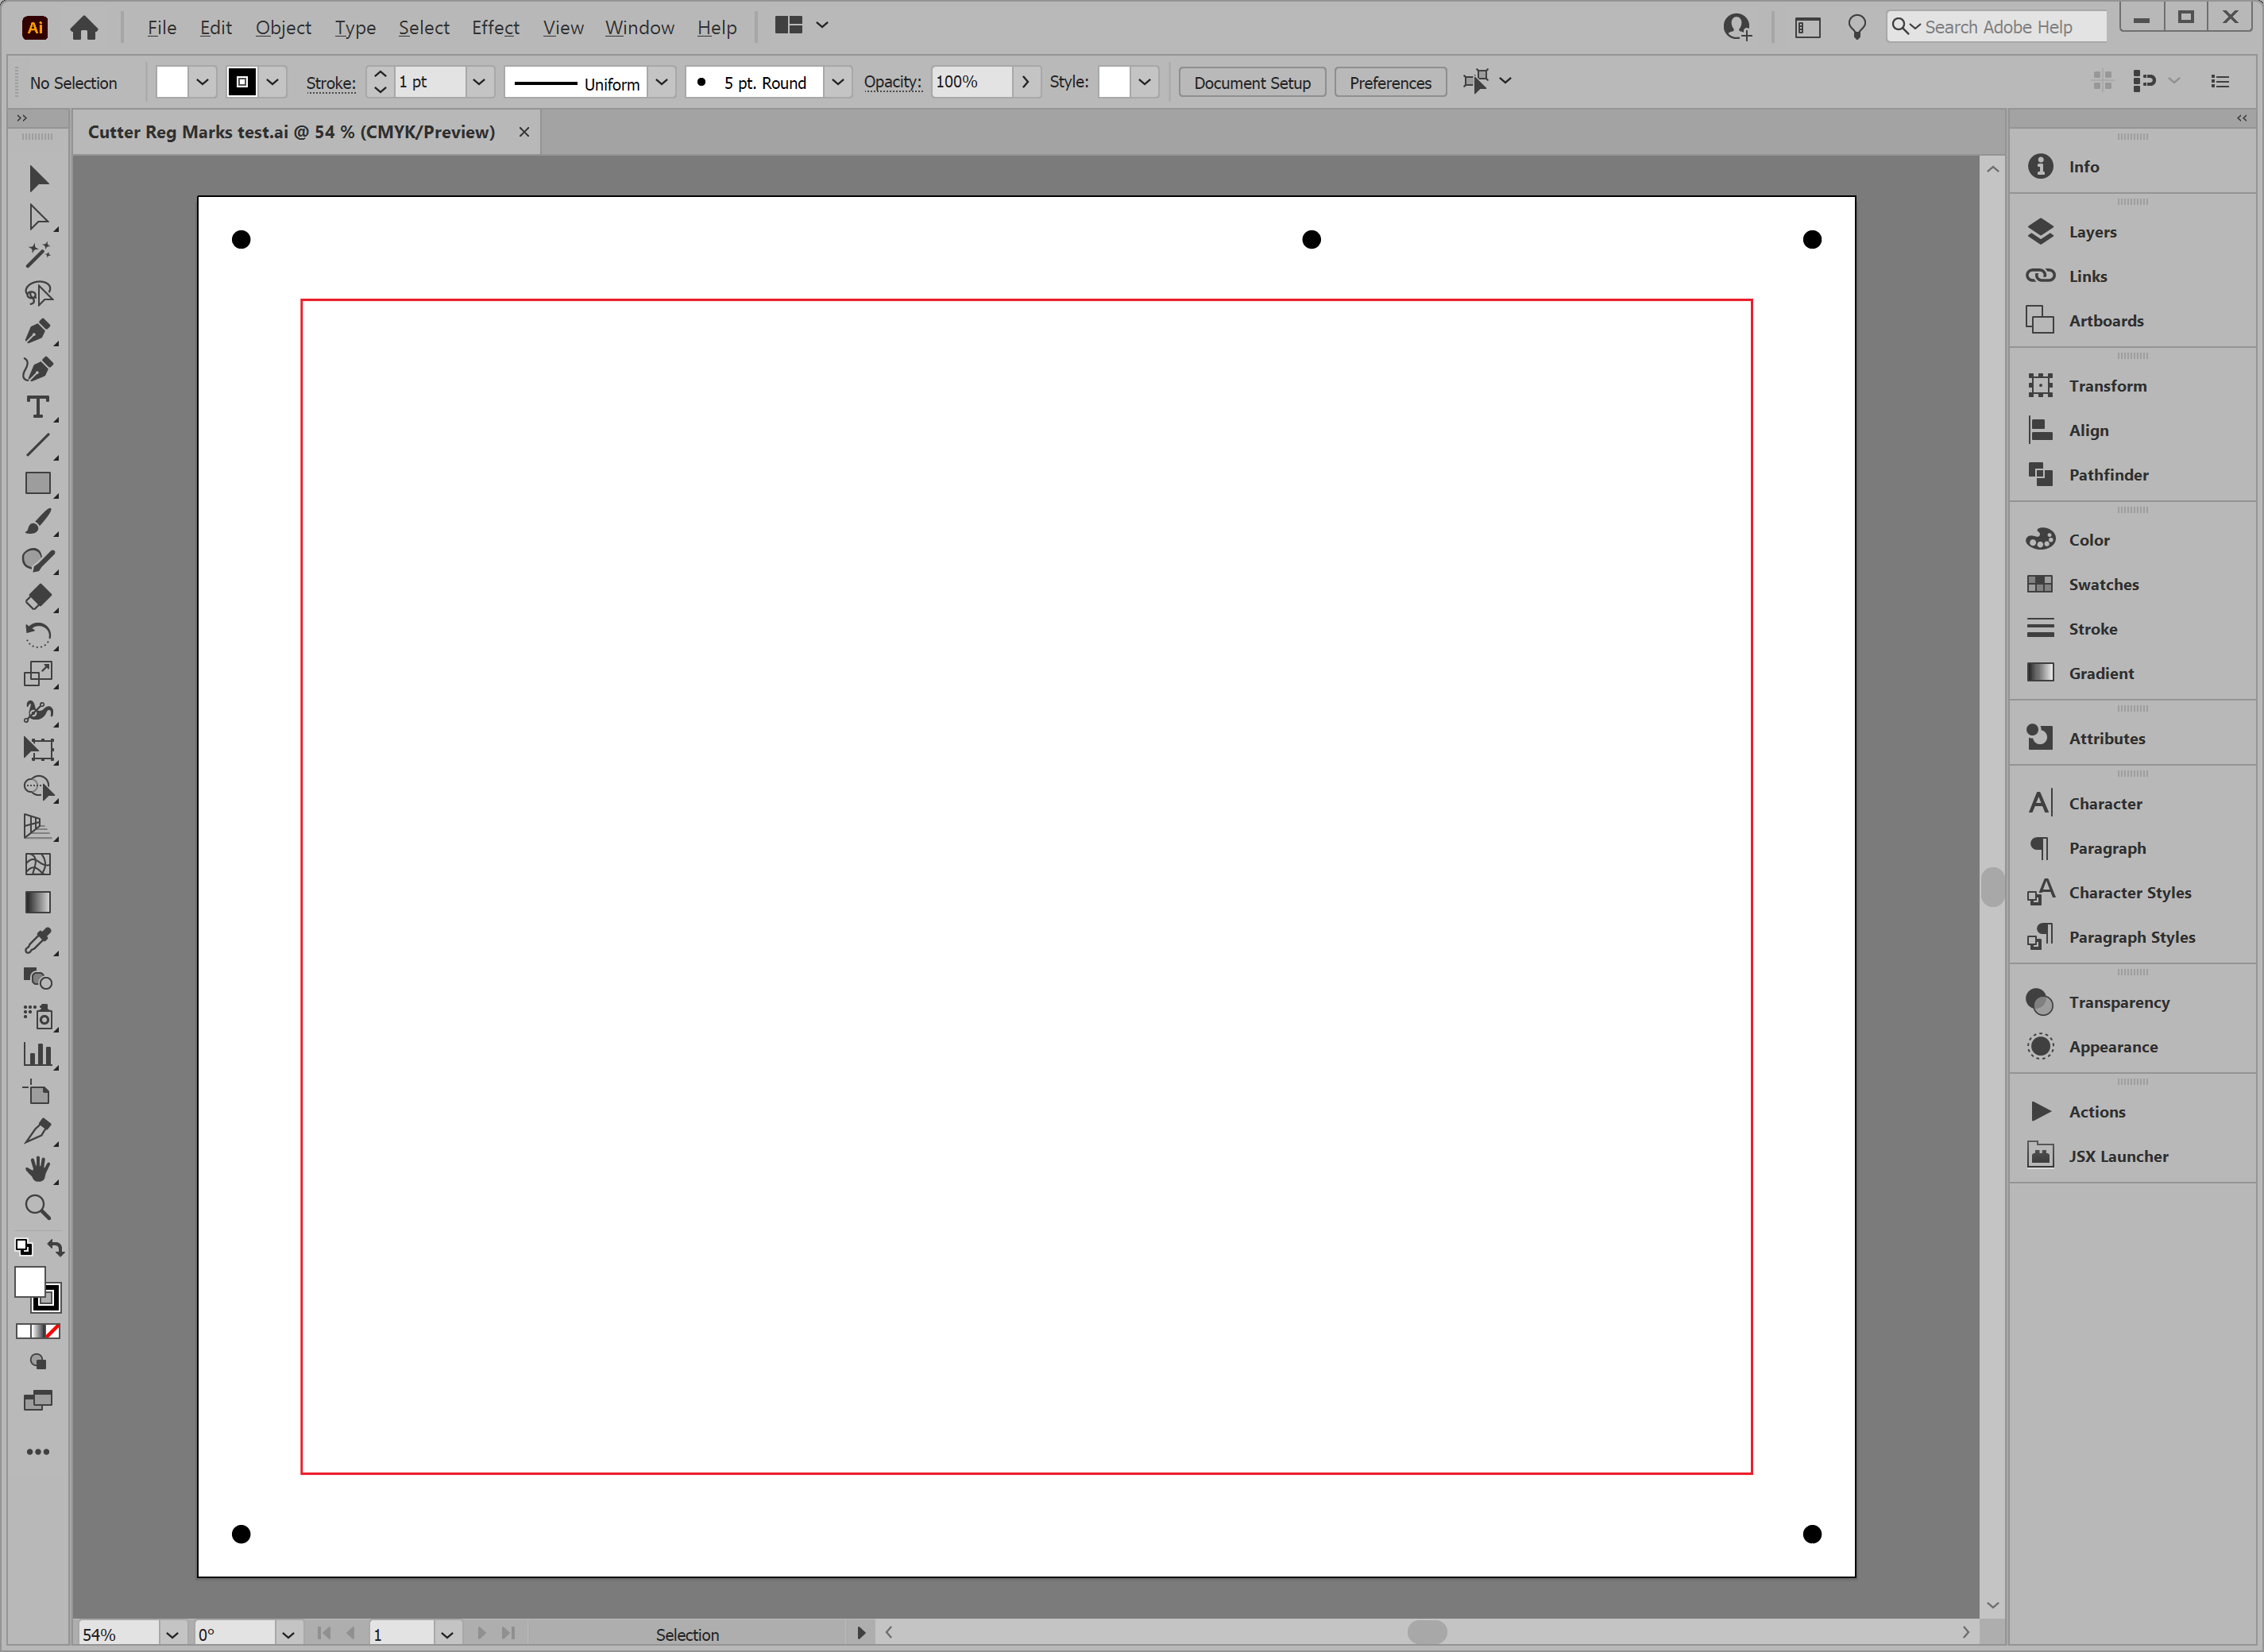
Script adds five registration dots as shown.
How-to Video
How to use the script
The script creates five registration dots that flatbed cutting plotters use to align cuts to the printed content. The marks created are 1/4" round dots colored 100% black.
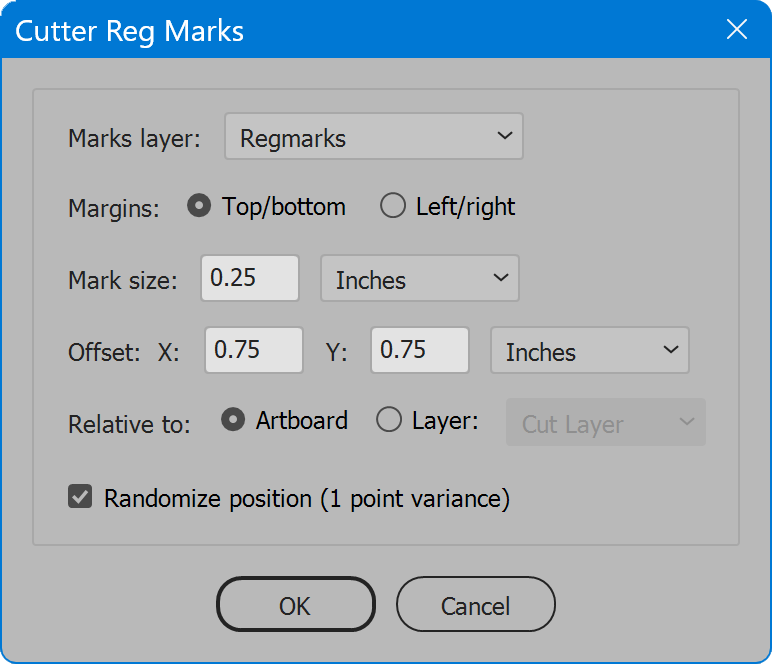
The interface has one section with all options:
Marks layer — select the layer to which marks are added. The script looks for a layer named Regmarks, and selects it if the layer exists. If not, the script offers to create it, and includes in the list the choice [Create 'Regmarks'], which creates a new layer of the name atop all other layers. Or choose any other layer.
Margins — marks are placed around the artwork, but if content is close to particular artboard edges, this option allows the choice to favor either top/bottom or left/right. Use whichever margin has more room. For top/bottom, the odd (fifth) mark is placed in the top margin two-thirds from left. For left/right, the odd mark is placed in the right margin one-third down from the top.
Mark size — the diameter of each mark. Set the measurement units in the drop-down list. When units change, the value is converted to the equivalent value using the new units.
Offset, X and Y — the distance from the left (X) and top (Y) marks are placed from the selected reference (set below). Each axis, X and Y, may be set to different values. Set the measurement units in the drop-down list. When units change, values are converted to the equivalent value using the new units.
Relative to — the reference from which marks are placed. Artboard places the marks inside the artboard area, the value of the Offset away from the artboard edge. Layer places the marks outside the selected layer's contents, the value of the Offset away from the contents.
Layer — when Relative to Layer is selected, choose the layer that is the reference. All elements on the layer determine its bounding box, away from which the marks are placed.
Randomize position — if enabled, marks are not precisely aligned, rather shifted one point in various directions. Required in some workflows to ensure the cut layer is upright in relation to the printed content.
Cutter Reg Marks
Change log: cutter-reg-marks.txt
Alternate version for Tekcel CNC Sign Cutting Machines
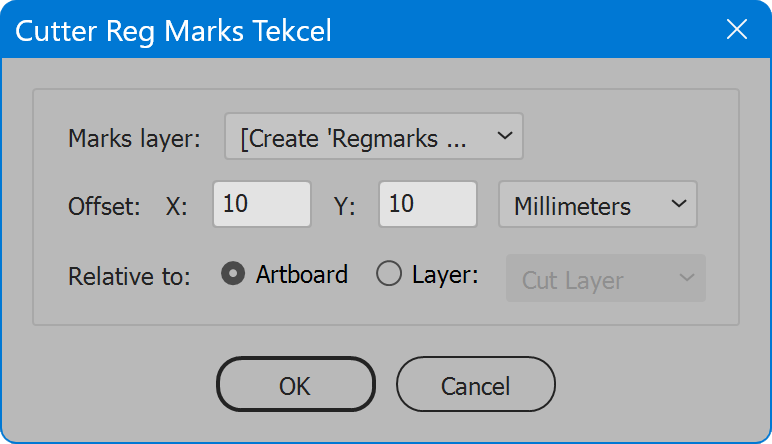
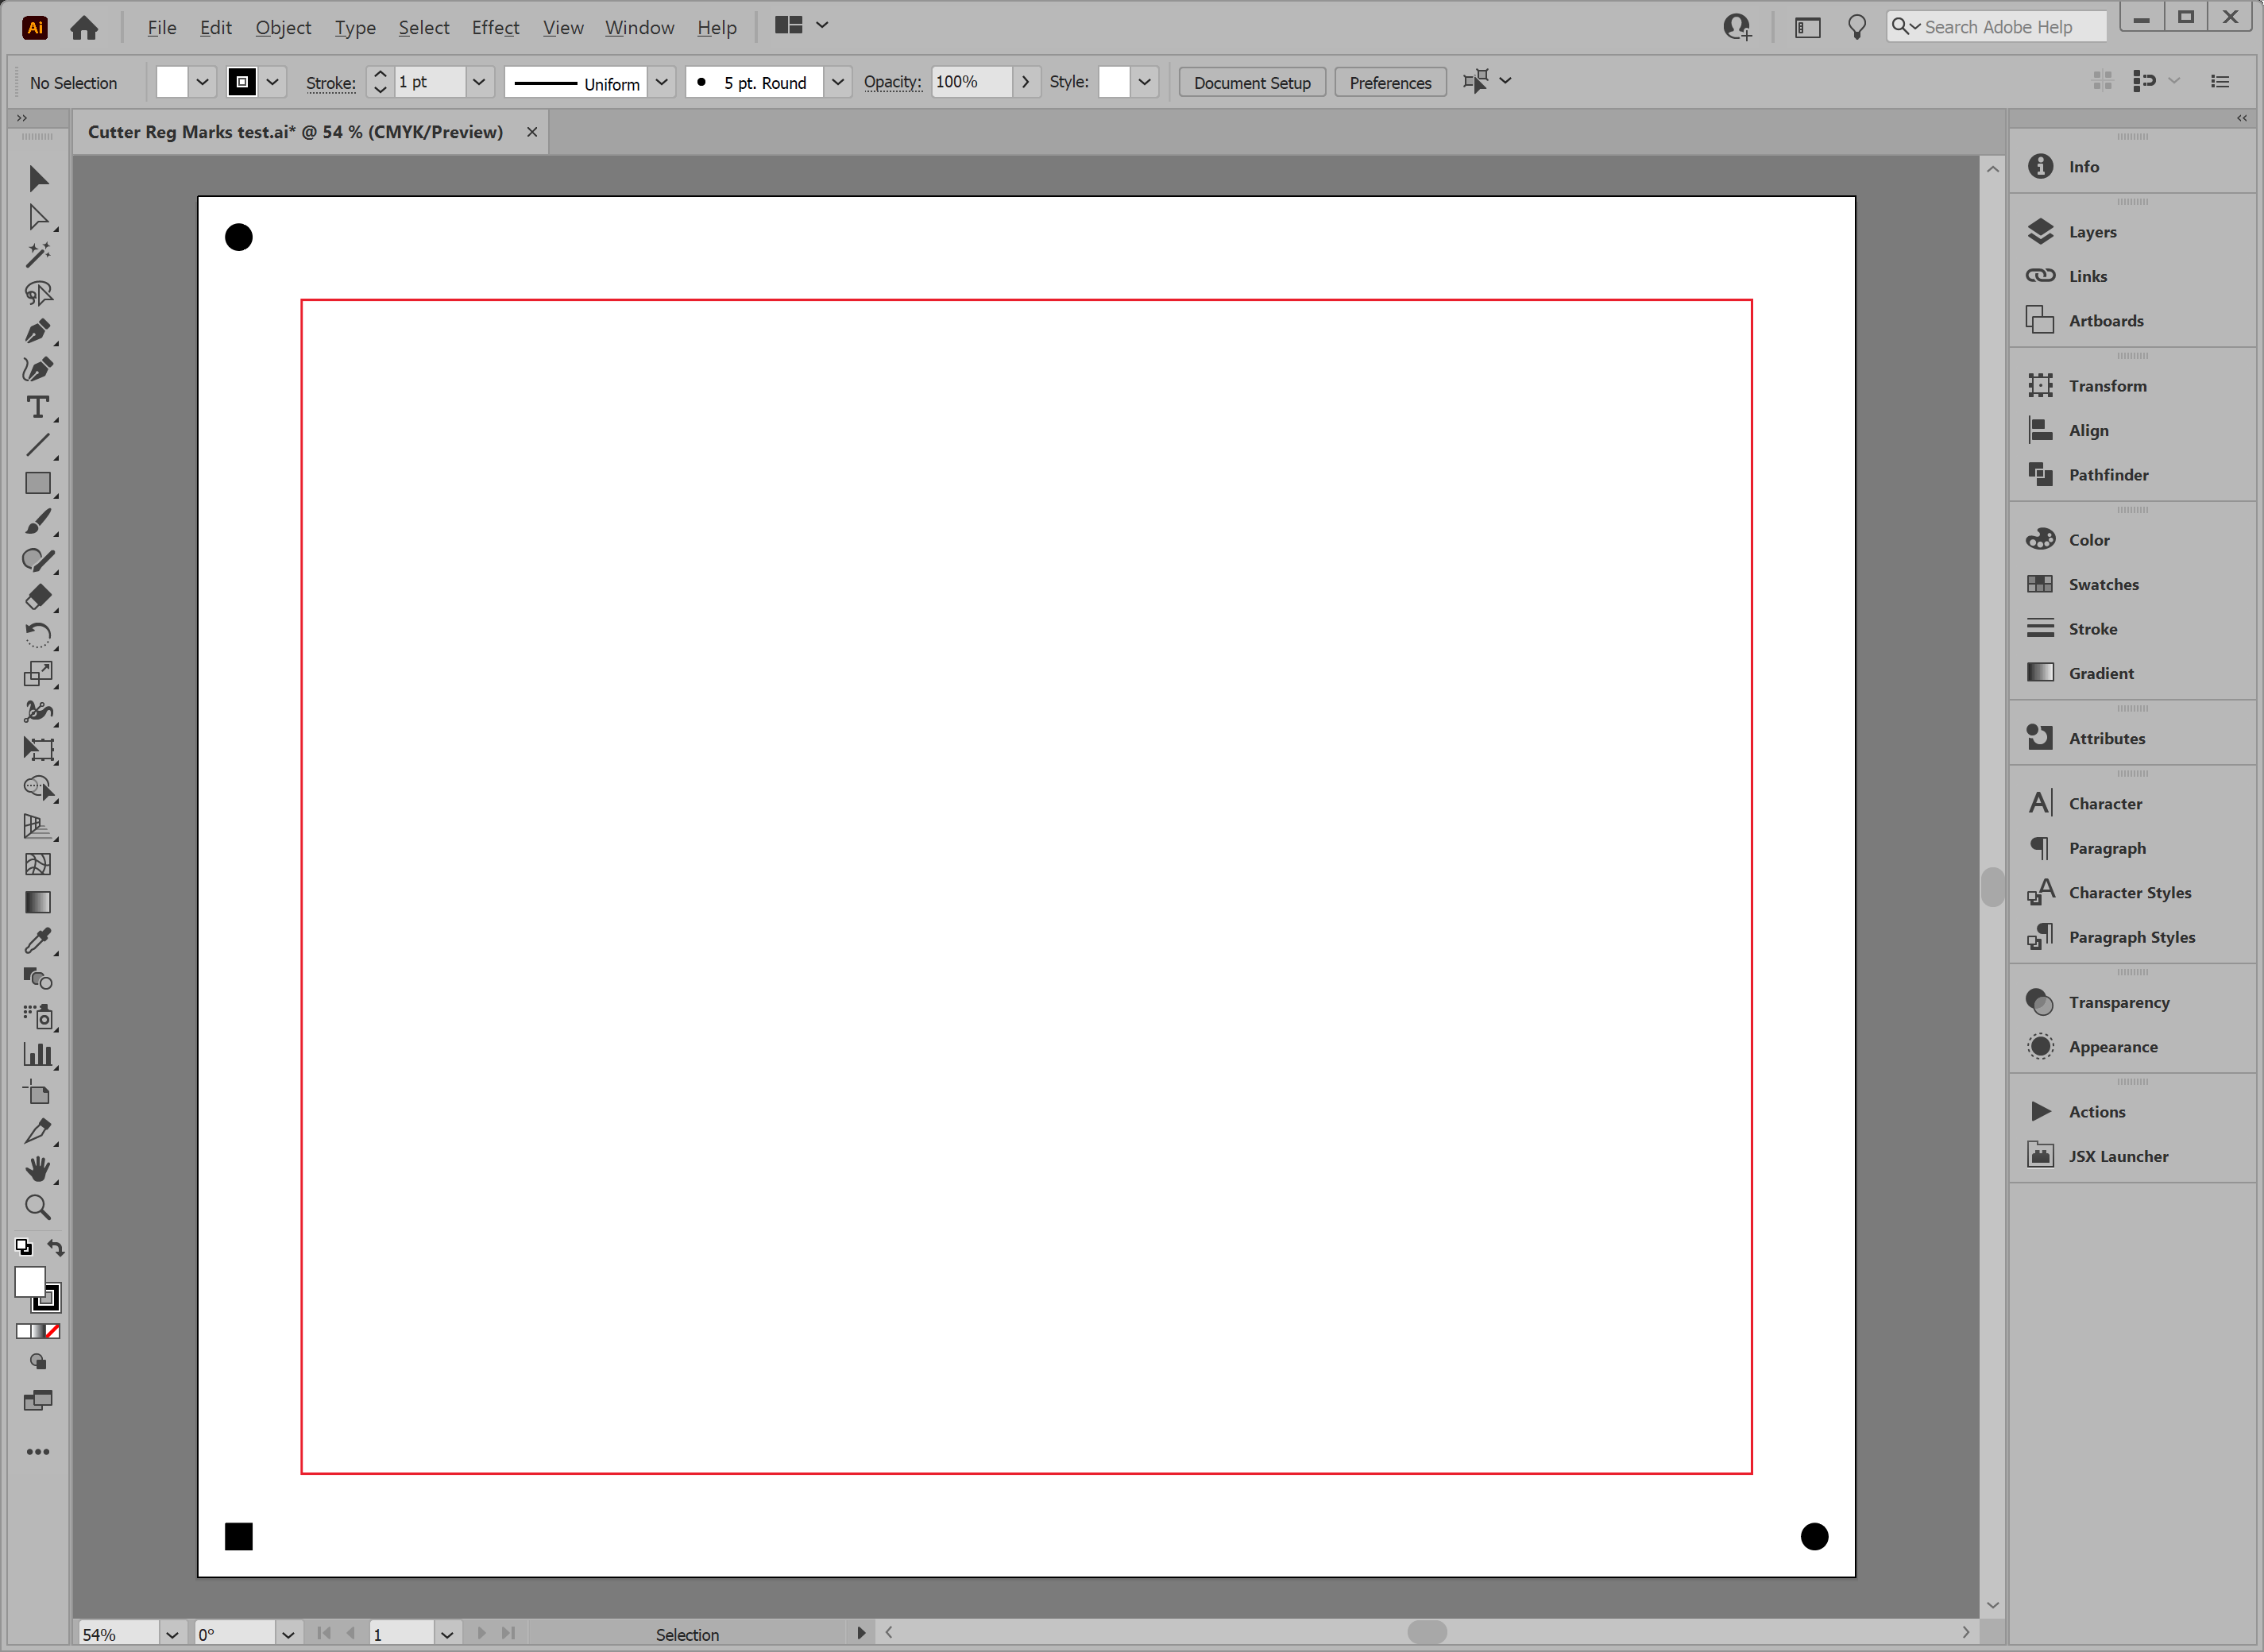
Same functionality as the standard version of the script, but creates marks recognized by Tekcel sign cutting machines. Places 10 mm round dots top left and bottom right, and one 10 mm square bottom left.
Cutter Reg Marks Tekcel
For help installing scripts, see How to Install and Use Scripts in Adobe Creative Cloud Applications.
IMPORTANT: scripts are developed for the latest Adobe Creative Cloud applications. Many scripts work in CC 2018 and later, even some as far back as CS6, but may not perform as expected, or run at all, when used in versions prior to 2018. Photoshop features Select Subject and Preserve Details 2.0 definitely fail prior to CC 2018 (version 19) as the features do not exist in earlier versions. For best results use the latest versions of Adobe Creative Cloud applications.
IMPORTANT: by downloading any of the scripts on this page you agree that the software is provided without any warranty, express or implied. USE AT YOUR OWN RISK. Always make backups of important data.
IMPORTANT: fees paid for software products are the purchase of a non-exclusive license to use the software product and do not grant the purchaser any degree of ownership of the software code. Author of the intellectual property and copyright holder William Campbell retains 100% ownership of all code used in all software products regardless of the inspiration for the software product design or functionality.
