Export Pages To Subfolders
Script for Adobe InDesign
This script is now obsolete. New features of the script Export Named Pages adds capability to achieve the same result.
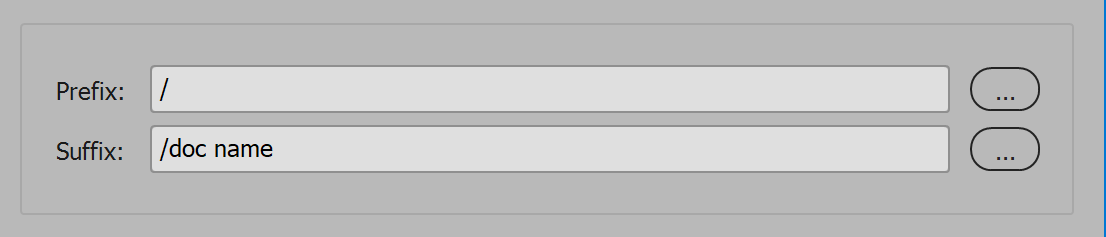
Using Export Named Pages to output files the same name but different subfolders, set Name from content option to a style, or other method, that matches content on each page the desired folder name. Set Prefix to a forward slash and Suffix to a forward slash followed by the desired document name. Do not include an extension. The script adds that based on the output format chosen.
Set output folder to the root folder where the subfolders are saved.

Explore the additional features Export Named Pages offers.
For help installing scripts, see How to Install and Use Scripts in Adobe Creative Cloud Applications.
IMPORTANT: scripts are developed for the latest Adobe Creative Cloud applications. Many scripts work in CC 2018 and later, even some as far back as CS6, but may not perform as expected, or run at all, when used in versions prior to 2018. Photoshop features Select Subject and Preserve Details 2.0 definitely fail prior to CC 2018 (version 19) as the features do not exist in earlier versions. For best results use the latest versions of Adobe Creative Cloud applications.
IMPORTANT: by downloading any of the scripts on this page you agree that the software is provided without any warranty, express or implied. USE AT YOUR OWN RISK. Always make backups of important data.
IMPORTANT: fees paid for software products are the purchase of a non-exclusive license to use the software product and do not grant the purchaser any degree of ownership of the software code. Author of the intellectual property and copyright holder William Campbell retains 100% ownership of all code used in all software products regardless of the inspiration for the software product design or functionality.
